Sunday, March 21, 2010

Man, O Man... We're liking it.

I know it's been a while since the last post & I've been chomping at the bit waiting to take more pictures. Because of "the bubble" I haven't been able to take many good pictures. But, we took it down this past weekend, so this blog is really picture heavy!
I'll begin with a copy of the invitation we have sent out for our "chinking" party this next weekend. If you are reading this blog you are more than welcome to stop by! See the invitation below:
Your Invited
to
the Bieber Log Home Chinking Party!

Bring your spouse, bring your kids
bring your friends, bring your bibs
It's the Perfect time
for insulation & mortar
All we need is help to put it in order
We've got the tools & the food
& a special job for you!!
And at the end of the day if it's icy & cold
We'll have a big bonfire & a warm drink to hold
By chinking our logs, you get your face on our blog!
So bring your boots, bring good cheer
Just get your rump here!

March 27 & 28th
Saturday & Sunday
(Sunrise to Sunset)

Come for a day or your welcome to stay!

RSVP to Stewart
205-821-0341

Call & let us know if you'll be stopping by so we'll know how much food to prepare.
We look forward to seeing you!
Now, on to the pictures of our progress!
(Vapor barrier up in front. Window casings almost finished)


(Window casings done, edges beveled)


(Loft beams stained & up. Gable windows put in)


(Kitchen window casing in)


(Looking up at the loft beams. We went with the stain "Gunstock" by Minwax for the floor joists)


(Bathroom & closet framing partly done, with loft beams on top)


(Looking up at loft beams)


(Window casings stained)


(Close up. This was a hard job, but we are so glad we did it. Check out our little home through the window)


(Stewart & Taylor putting up 2x10 cypress fascia board. All of our fascia boards came from left over scrap logs that we had cut into boards)


(Cedar shake shingles up, outside stained, fascia board up along roof line for trim. We stained the logs with Sascho's Gold Tone Medium, & the cedar shake with Red Tone Light)


(Side view of logs & roof detail. Still have to finish the rake trim on the roof along the fascia, but looking good)


(Close up of front windows)


(Side view)
(Back side with gable windows in, before fascia is up. Kitchen window looks tiny, but it's not)
(Fascia boards up on back wall. Much better!)
Next up, chinking the logs. We'll be roughing it in with insulation & mortar. Then comes windows & doors! Then we'll be ready to focus on the interior for a while...

Monday, February 1, 2010

On to the next level...


(Back gable framing...)


Wow! We have had so much fun the last two weeks building this thing! We got the back gable framing finished, then we got the front & back gables closed in. It's really starting to feel like a cabin now!


(Front gable closed in..)


(Back gable closed in...)


We then got the home wrap put on the back gable which is the vapor barrier, then we caulked all of the cracks to seal it. I couldn't get a great picture of this b/c we still have "the bubble" up.


(Vapor Barrier in place...)


Stewart finished putting in all the floor joists for the second floor & got them all level.


Then we put in the SL's (support logs) to support the floor joists around the stairwell. There is just something about building with logs that is so much fun! Cutting them to size with a massive chainsaw, then hoisting them in place with chains. It is awesome!! And what a beautiful touch it adds to a home!


We then began putting the 2nd level hardwood flooring in. We are only doing half of the floor for now, then when we do the electrical for all of the inner walls, we can hide the wires. We are doing pine hardwoods all throughout the cabin.


(Hardwood flooring cut around the Ridge Pole. Nice job Stewart!)


(Flooring around the stairwell..)
See our chain hoist set up for lifting the support logs into place. We have 1 more SL to put upstairs in the kitchen area to support the floor joists for the loft.


We then began framing up the inner walls. That didn't take any time at all! We've pretty much got all the inner framing up now. Of course, this is the garage, so there are not many walls needed. It's a pretty open floor plan, with a small kitchen, bathroom, & closet on one side, and the rest open.


(Inner walls framed up...)


(A view from the bottom level looking up at the ceiling...)


Stay tuned! Next up, putting up the loft floor joists, building the stairs, & putting up the cedar shake shingles on the gables!

Monday, January 11, 2010

"The Bubble"

Well, even though it has been freakin' freezin' here in Alabama, we have still managed to keep rolling. Apparently, it has been the longest stretch of freezing cold weather here in 70 years.
We were at a point where we decided we needed to stain the inside of the logs before we put the second floor in. But, it has been really cold, and the stain needs to be a minimum of 40 degrees. But, we really needed to stain. So, we created "the bubble..."


(The Bubble...)


Stewart tented in the whole garage with plastic, then bought the awesome kerosene Reddy Heater. So when we had lows in the teens all week, it was around 60 degrees in the garage. It's great!!


We have been able to keep moving and have gotten alot done. Everyone thinks we are crazy that we are working in this weather, but little do they know we are in the cozy bubble.
Stewart got all of the inner walls stained. Thanks Dad, for helping us out! We went with Sascho's Tan Pine for our interior stain.
(Inner walls stained, looking at the kitchen window)
We are really loving the color. We were up in the garage looking at the logs, especially the huge RPSL's in the middle, with all of the grooves & grains; we decided it really feeds our souls.


(Check out the beauty of that RPSL)


(The girder going through the middle, notched out for the floor joists)
We also got the floor joists stained. We have gone with a slightly less red & more brown stain this time, Gunstock. I think we are really going to like it, but since it's the garage, we can play a little bit.


We are almost finished framing the back gable now. Just a few more touches to finish the framing for the trapezoid windows in the loft.

(Back gable framing)


Then, we got the floor joists up & in place. Yay! Looking good. Now we just have to tweak them to get them all level, then we'll start putting in the second floor.


(Looking up at the floor joists in place)


(View from atop the floor joists)


Next up, second floor going in, closing in the gables, then staining the outside of the logs. We want to take the bubble down for that to get better air ventilation, so hopefully it will warm up!!!!

Thursday, December 24, 2009

The Roof

Well, we have been quite busy over the last few weeks working on the roof. We feel really good about it & have gotten alot done. It feels like we are always on some sort of time crunch though with the rain. Lately it seems that each week brings with it a new system of rainy days. We just do what we can around the weather.
In the last post, we had kind of switched gears. We were focused on the floor joists for the second floor, then staining the logs, but we decided to go ahead and tackle the roof & get it completely finished, so that's what we have been focused on.
We had some guys come out and do the insulation for the roof. We are using a closed-cell spray foam insulation, which is very efficient. It's also not all itchy like the fiberglass stuff, which is really cool! Check out the link to their website at the bottom if interested.


(Here's a picture of the spray foam completed)


Once the insulation was finished, we nailed 1x4's all along the roof for the metal panels to attach to.


Then, it was time for our roof to be delivered! We are going with a metal roof, for two reasons: We really like the look of it & it is very efficient. We are pretty pumped about it! When the roof was delivered, they actually made the panels on site. Alabama Steel is the company we went with, & I put the link for them at the bottom as well.


I've got several pictures of the roof process. It has taken us about 5 days to put the panels on, but we saved about $1,000/day doing it ourselves! That made it worth it for us.
(1st side of panels going up)


(Stewart snapping down panels)


(A picture from on top of the roof. Check out our cute little RV that we live in while building, & the house foundation to the right. That'll be Round 2!)


(1st side of panels up)


(2nd side of panels up)


We got all of the panels on, but we still have some metal trim to put on & the fascia board trim as well.
Speaking of the fascia board, we had a nice pile of cypress logs left over after putting up the cabin that we had taken to the mill. We got it all cut up to use for many different pieces of the cabin, including the fascia board. That is the trim that goes along the edge of the roof on the front & sides. Here's a picture of our fascia board drying.


We also had some logs cut in half to make stairs. We wanted some really beefy stairs...


Once the panels were all on the roof, Stewart sanded the ends of each rafter, then stained them.


Not bad for our first roof job ever!!
Next up, staining the logs!! I think that will really make the cabin start to come to life!

Monday, November 16, 2009

About to start Rollin'...

Yes, it has been a long time since we last posted. But I am happy to say we are back, and about to start rollin' on this dream cabin adventure. Stewart went to Kansas for 3 weeks for training with his company in the new jet (pretty sweet). Then, we took a little trip to California for a week and had a little honeymoon while we were out there. (Yes, it's been 7 1/2 years, but we like to take honeymoons.)


This past week has been the first time in a while that we have really gotten some full days of work on the cabin. It felt great!! We really started rolling, and the weather couldn't have been better! Wish it felt like this all the time in Bama!

Even though we have been away from the cabin, we have been thinking alot about stain colors and have done alot of stain samples. That part can be difficult! But, we have decided on our stain colors for the logs exterior & interior, & the floor joists. Yeah!!! So glad to have that figured out. You would think that you would use the same thing for the exterior & interior stain for the logs, but it doesn't work that way. They are totally different formulas, and come in different colors, but we got it figured out. Thanks Sashco!

In the meantime, here is an update on the progress we've made:

Stewart got the front gable framing finished, and started on the back gable. We have ordered some special trapezoid windows for the back gable & are just waiting on the rough window estimate before Stewart finishes the framing for that back gable.


(Back gable started w/ a view from the kitchen window. My, what nice girder you have...)


We also got all of the floor joists set up and washed, so they are ready to stain. We washed them with the biowash product we used on the logs, only because some of them had started to gray from the sun.


We then began notching out for the floor joists. Yay!! The floor joists are what the second floor sits on. This was a little tedious & kind of slow going, but we got it all finished. It was actually pretty fun. I'm putting alot of pictures of Rachel notching, because she notched them all out. It really feels neat to have a chisel in 1 hand, a sledge hammer in the other, and to know you notched every single one by hand in your log cabin. Very rewarding. I can only imagine what it will feel like when we are living inside of this beautiful creation we have dreamt up.... I'm not gonna lie, my back is sore & my hand is bruised from where I missed the chisel & hit my hand, a few times.

(How do you like them notches?)


(Notching out the front wall)


(Rachel, chisel & sledge hammer in hand)


(Girder log sliced like bread for the floor joists)
In case you are wondering what Stewart was doing the whole time Rachel was
"chiseling away," Stewart was very busy being the brains of this relationship. He had the fun task of making sure every single notch was perfectly level on a very round & curvy log. Once everything was level, he marked each place for Rachel to notch, then he would slice it like bread to get it started.


(Rachel in what appears to be a senior moment: "Where's my ear phones????"
Stewart: "They're on your head, Rachel...")

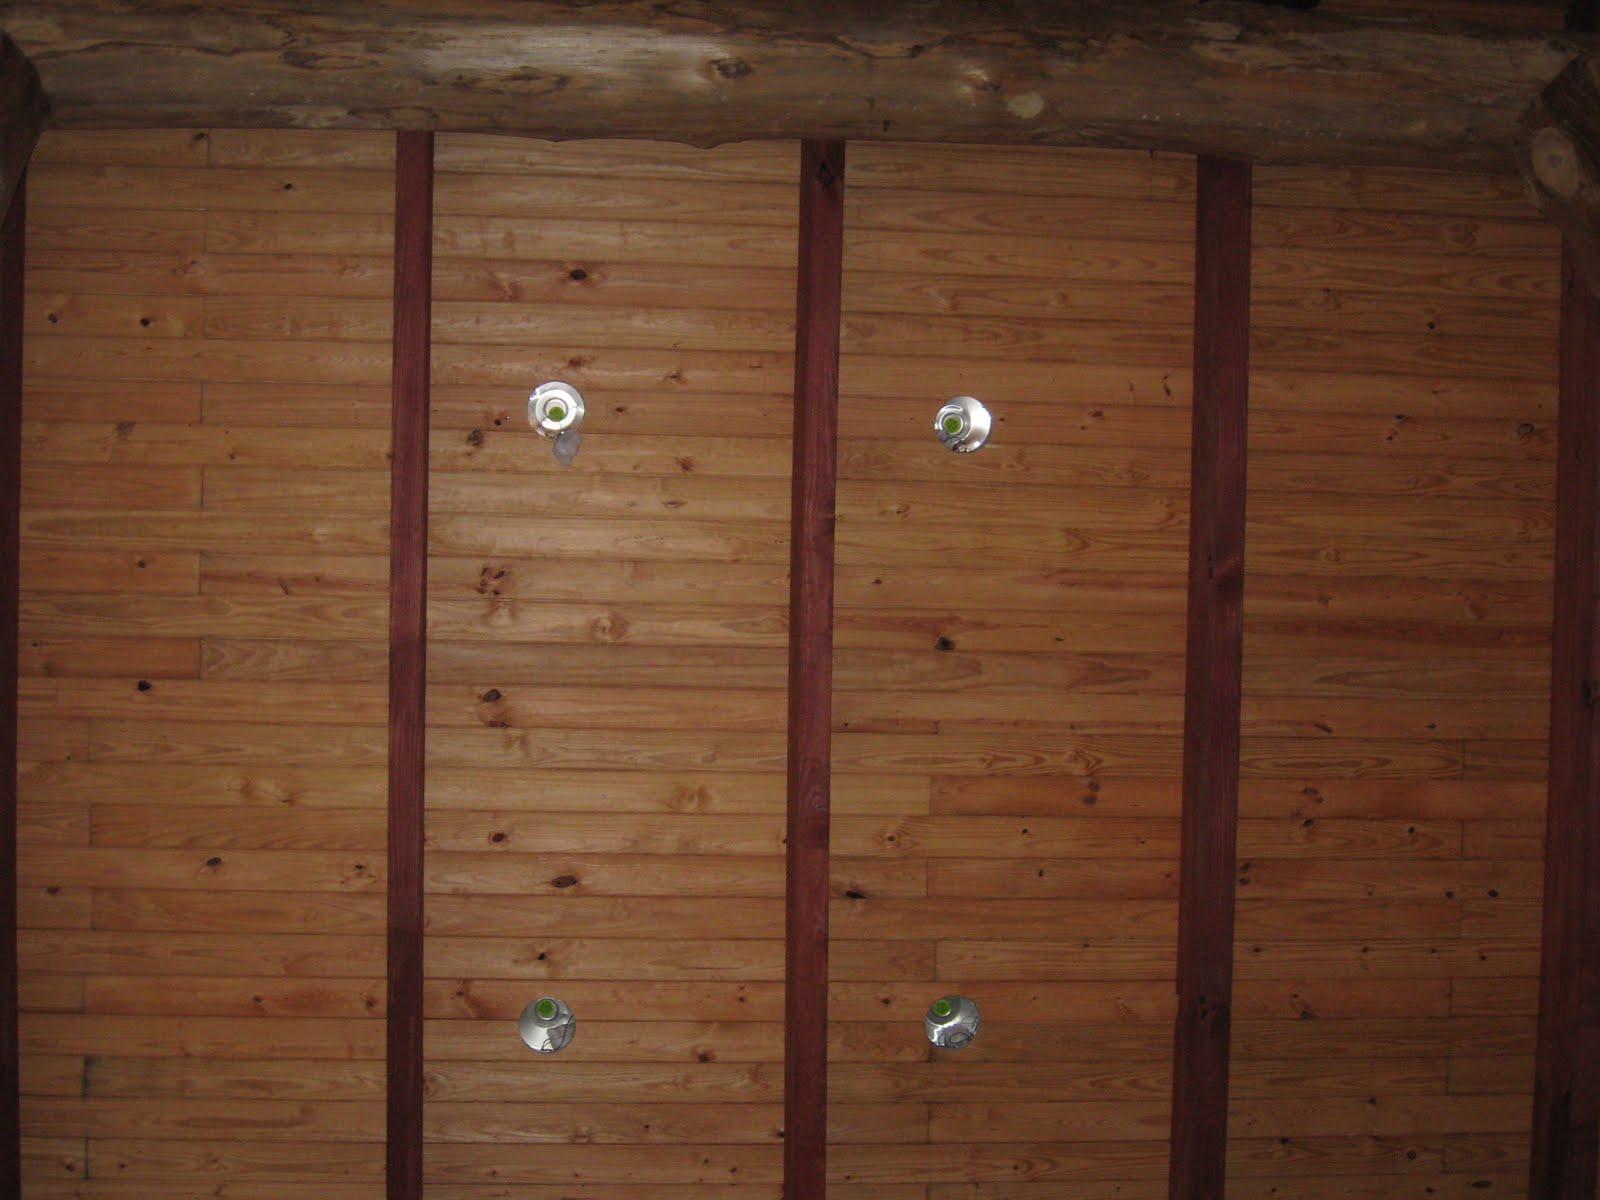
Once all of the notching was completed, Rachel began prepping the logs for the staining by blowing off all of the loose sawdust & wiping down the logs with a damp cloth. Stewart went up on the roof to cut out the holes for the recessed lights in the ceiling.

(Stewart & John Simpson , a fellow LHBA member cutting the holes for the recessed lights)


(One side down, looks good!)


(Just had to throw in 1 more picture with the Ridge pole & RPSL log)


Stay tuned!! It's about to get really exciting. Next up, staining the logs & finishing the roof. After Thanksgiving ofcourse...