Thursday, December 24, 2009

The Roof

Well, we have been quite busy over the last few weeks working on the roof. We feel really good about it & have gotten alot done. It feels like we are always on some sort of time crunch though with the rain. Lately it seems that each week brings with it a new system of rainy days. We just do what we can around the weather.
In the last post, we had kind of switched gears. We were focused on the floor joists for the second floor, then staining the logs, but we decided to go ahead and tackle the roof & get it completely finished, so that's what we have been focused on.
We had some guys come out and do the insulation for the roof. We are using a closed-cell spray foam insulation, which is very efficient. It's also not all itchy like the fiberglass stuff, which is really cool! Check out the link to their website at the bottom if interested.


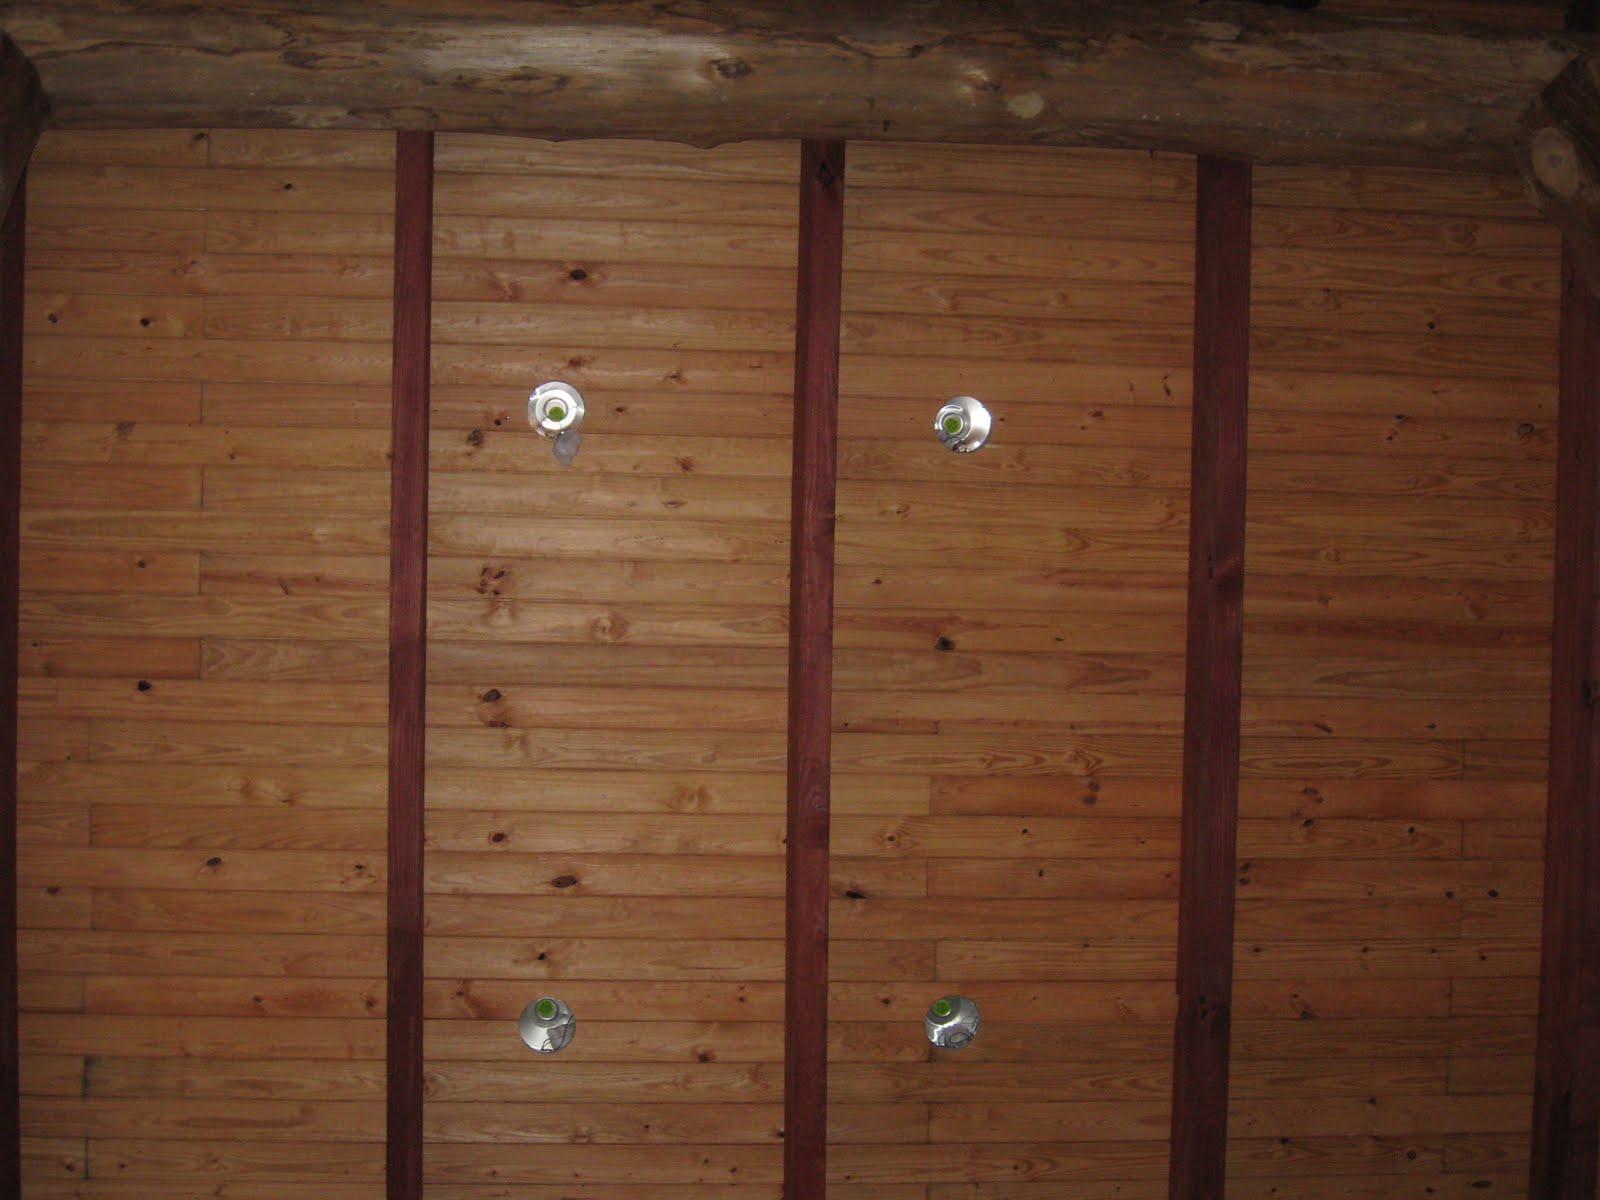
(Here's a picture of the spray foam completed)


Once the insulation was finished, we nailed 1x4's all along the roof for the metal panels to attach to.


Then, it was time for our roof to be delivered! We are going with a metal roof, for two reasons: We really like the look of it & it is very efficient. We are pretty pumped about it! When the roof was delivered, they actually made the panels on site. Alabama Steel is the company we went with, & I put the link for them at the bottom as well.


I've got several pictures of the roof process. It has taken us about 5 days to put the panels on, but we saved about $1,000/day doing it ourselves! That made it worth it for us.
(1st side of panels going up)


(Stewart snapping down panels)


(A picture from on top of the roof. Check out our cute little RV that we live in while building, & the house foundation to the right. That'll be Round 2!)


(1st side of panels up)


(2nd side of panels up)


We got all of the panels on, but we still have some metal trim to put on & the fascia board trim as well.
Speaking of the fascia board, we had a nice pile of cypress logs left over after putting up the cabin that we had taken to the mill. We got it all cut up to use for many different pieces of the cabin, including the fascia board. That is the trim that goes along the edge of the roof on the front & sides. Here's a picture of our fascia board drying.


We also had some logs cut in half to make stairs. We wanted some really beefy stairs...


Once the panels were all on the roof, Stewart sanded the ends of each rafter, then stained them.


Not bad for our first roof job ever!!
Next up, staining the logs!! I think that will really make the cabin start to come to life!

Monday, November 16, 2009

About to start Rollin'...

Yes, it has been a long time since we last posted. But I am happy to say we are back, and about to start rollin' on this dream cabin adventure. Stewart went to Kansas for 3 weeks for training with his company in the new jet (pretty sweet). Then, we took a little trip to California for a week and had a little honeymoon while we were out there. (Yes, it's been 7 1/2 years, but we like to take honeymoons.)


This past week has been the first time in a while that we have really gotten some full days of work on the cabin. It felt great!! We really started rolling, and the weather couldn't have been better! Wish it felt like this all the time in Bama!

Even though we have been away from the cabin, we have been thinking alot about stain colors and have done alot of stain samples. That part can be difficult! But, we have decided on our stain colors for the logs exterior & interior, & the floor joists. Yeah!!! So glad to have that figured out. You would think that you would use the same thing for the exterior & interior stain for the logs, but it doesn't work that way. They are totally different formulas, and come in different colors, but we got it figured out. Thanks Sashco!

In the meantime, here is an update on the progress we've made:

Stewart got the front gable framing finished, and started on the back gable. We have ordered some special trapezoid windows for the back gable & are just waiting on the rough window estimate before Stewart finishes the framing for that back gable.


(Back gable started w/ a view from the kitchen window. My, what nice girder you have...)


We also got all of the floor joists set up and washed, so they are ready to stain. We washed them with the biowash product we used on the logs, only because some of them had started to gray from the sun.


We then began notching out for the floor joists. Yay!! The floor joists are what the second floor sits on. This was a little tedious & kind of slow going, but we got it all finished. It was actually pretty fun. I'm putting alot of pictures of Rachel notching, because she notched them all out. It really feels neat to have a chisel in 1 hand, a sledge hammer in the other, and to know you notched every single one by hand in your log cabin. Very rewarding. I can only imagine what it will feel like when we are living inside of this beautiful creation we have dreamt up.... I'm not gonna lie, my back is sore & my hand is bruised from where I missed the chisel & hit my hand, a few times.

(How do you like them notches?)


(Notching out the front wall)


(Rachel, chisel & sledge hammer in hand)


(Girder log sliced like bread for the floor joists)
In case you are wondering what Stewart was doing the whole time Rachel was
"chiseling away," Stewart was very busy being the brains of this relationship. He had the fun task of making sure every single notch was perfectly level on a very round & curvy log. Once everything was level, he marked each place for Rachel to notch, then he would slice it like bread to get it started.


(Rachel in what appears to be a senior moment: "Where's my ear phones????"
Stewart: "They're on your head, Rachel...")

Once all of the notching was completed, Rachel began prepping the logs for the staining by blowing off all of the loose sawdust & wiping down the logs with a damp cloth. Stewart went up on the roof to cut out the holes for the recessed lights in the ceiling.

(Stewart & John Simpson , a fellow LHBA member cutting the holes for the recessed lights)


(One side down, looks good!)


(Just had to throw in 1 more picture with the Ridge pole & RPSL log)


Stay tuned!! It's about to get really exciting. Next up, staining the logs & finishing the roof. After Thanksgiving ofcourse...

Sunday, September 27, 2009

Log Garage, continued....

I've been waiting to add another post until I had a variety of pictures. It has been raining for 3 weeks now, which has slowed us down some. After Stewart finished the blocking for the roof, we went to working on the logs themselves, since they are covered. We washed the logs with a biowash product, which renews the wood and gets out any gray that is there. Then, we did our final log treatment with the U.S. Navy concoction. We are glad to have that part done. We are ready to start building again!
(Stewart finished all of the blocking for the roof, in between the sleeper rafters)


(A picture of the boxes built for the recessed lighting)


(The logs after we washed them with the Biowash. They are brighter now)


After we washed and treated the logs, we decided that before we finish the roof, we are going to go ahead and build the gables, 2nd floor, and the framing for interior walls. That way all of the electrical and insulation can be done in one fell swoop. We have put tarps on the roof to protect it and keep it dry, until we are ready to finish that portion. So, on to the gables we go!
(Stewart cutting out the windows with one fantastic chain saw! Thanks, Pat Burns. Stewart did a great job cutting them out perfectly straight)


(A picture of the front windows cut out)


(The kitchen window cut out)


(Stewart putting the studs in on the front gable)


(Building a window header on the front gable)


Friday, August 28, 2009

The Roof.....

Well, it's been a couple of weeks since the last post. We took an awesome vacation to the beach for a week for some R&R. It was perfect. We were able to let our bodies rest a little bit. Rachel's fingers are still stiff from all the pounding & sanding!
We are back at it again, chugging away on the roof portion of our garage apartment. We counted up about 8 steps of the roof building process. We are chipping away, every week.
Once all of the felt paper was in place, we were ready to begin measuring & cutting the sleeper rafters.
Once we got those all nailed in place, we began measuring & cutting the blocking that goes between the sleeper rafters. We also figured out where we want the recessed lights to go, and built boxes and began putting those up as well.
While all that was going on, Rachel sanded the entire cabin, inside & out, using an osborn brush. The osborn brush works great for buffing the logs and getting the hair off, making the logs really smooth.
We also got the piles of leftover logs picked up and cut into lumber. And, we moved the RV to a different part of the property, to make room for the house logs that we HOPE will be delivered soon. Those logs will be alot longer, so we'll need all the room we can get.

Pray that it doesn't rain, because our cypress house logs are still standing in a swamp right now. We would love for it to be dry enough to get them in the next month or so. Regardless of when we get them, we know it will be perfect timing! We've got plenty to do in the meantime...

(Sleeper rafters in place)


(Sleeper rafters from a different view)


(Stewart, Rachel, & Andy- another fellow LHBA member, who came to help us for a day)


(Rachel cutting the blocking to go in between the sleeper rafters)
(The RV moved to its new spot, & a much more cozy one at that)
(Stewart putting in the blocking. He's getting quite good on the 10/12 pitch roof)

Friday, July 24, 2009

Tongue & Groove Up, Roof here we come...

Well, last week it took us three days to get the tongue & groove (T&G) up on 1 half of the roof. We had Stewart & Taylor up on the roof laying T&G and nailing it in place. We had our friend John in the scissor lift passing them the boards and tools, and Rachel on the ground staining the T&G and passing the boards to John in the lift. With 4 of us, it took 3 days to get it all done. This week there were only 3 and they got it done in a day & a half! Pretty impressive. They figured it out and got some rhythm going...


(Check out our cathedral ceilings. Great acoustics in there!)


(A picture of the rafters & T&G cut and edged)

Once all the T&G was up, we spent some time making sure the roof was square, and marking the edges. Once all was square and marked, we cut the edges around the whole roof. We are doing what is called a "Turkey Tail," on the front and back of the roof.
(Nice clean edges. It's got a nice cottage feel)
Once all the edges were cut, we began the process of laying 15lb. felt paper over the T&G.
This will help to protect the T&G from the rain, but will also keep our spray-foam insulation from seeping through as well.
(Taylor in an awkward upside down position hanging from a rope on a 10/12 roof)
(Stewart & Taylor stapling the felt to the T&G)
(A picture of the garage from the back side)
(Not bad for a days work: Nice clean edges and felt in place)